
Documentation Index

Fetch the complete documentation index at: https://docs.bland.ai/llms.txt

Use this file to discover all available pages before exploring further.

This tutorial walks through creating a Cal.com booking tool. The same patterns apply to all built-in integrations. For shared concepts (parameter modes, response variables, response routing), see the Tools overview.

Step 1: Connect Cal.com

  1. Go to Integrations tab
  2. Click Cal.com
  3. Click Add Connection
  4. Name it (e.g., “Sales Team Calendar”)
  5. Click Connect
  6. Enter your Cal.com API key in the popup
  7. Click Save
Cal.com Connection

Step 2: Create a Booking Tool

In the Actions panel, click Create Booking to open the Tool Builder. Actions Panel

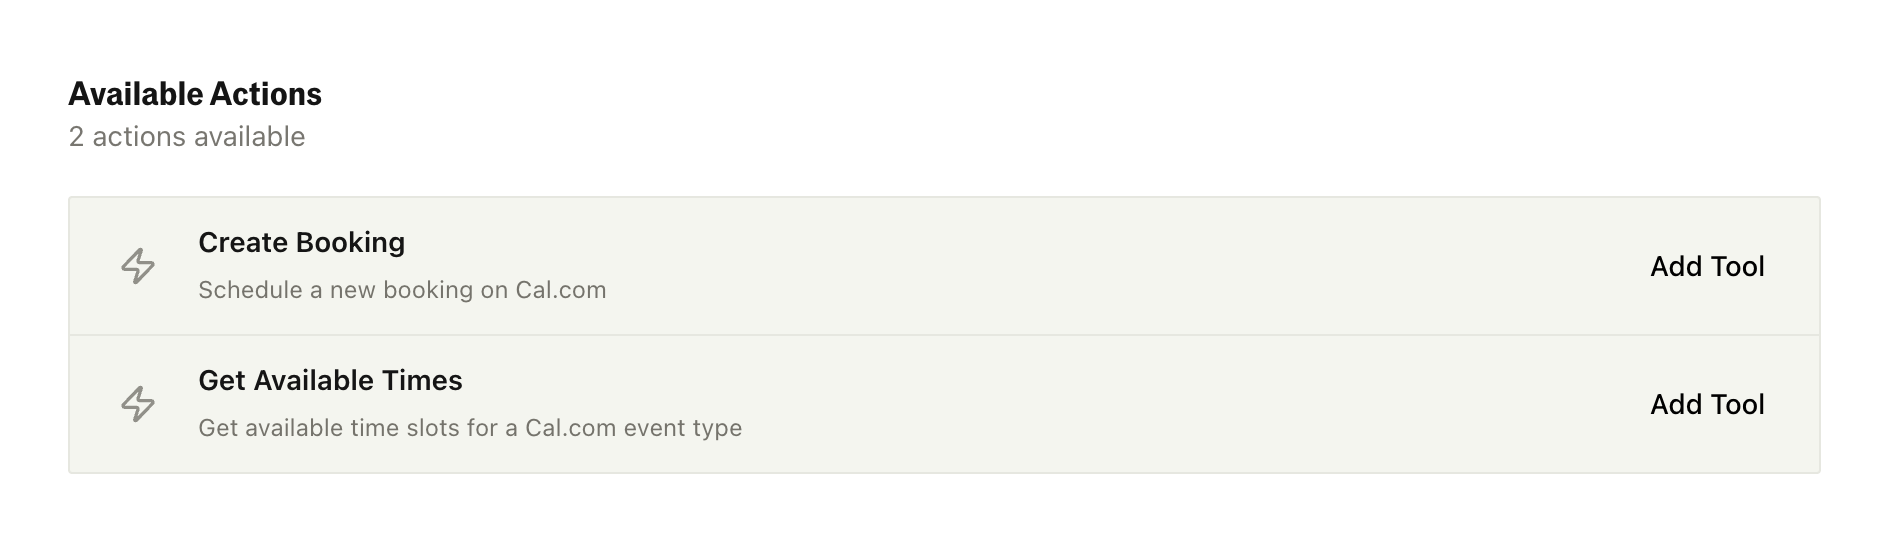
Step 3: Configure the Tool

Action Parameters: Action Parameters Configuration Each field uses one of three input modes (Manual, Agent, or Linked). See Parameter Modes in Personas for how each mode works and when to use it. Response Variables: Response Variables Configuration Click Create Tool.

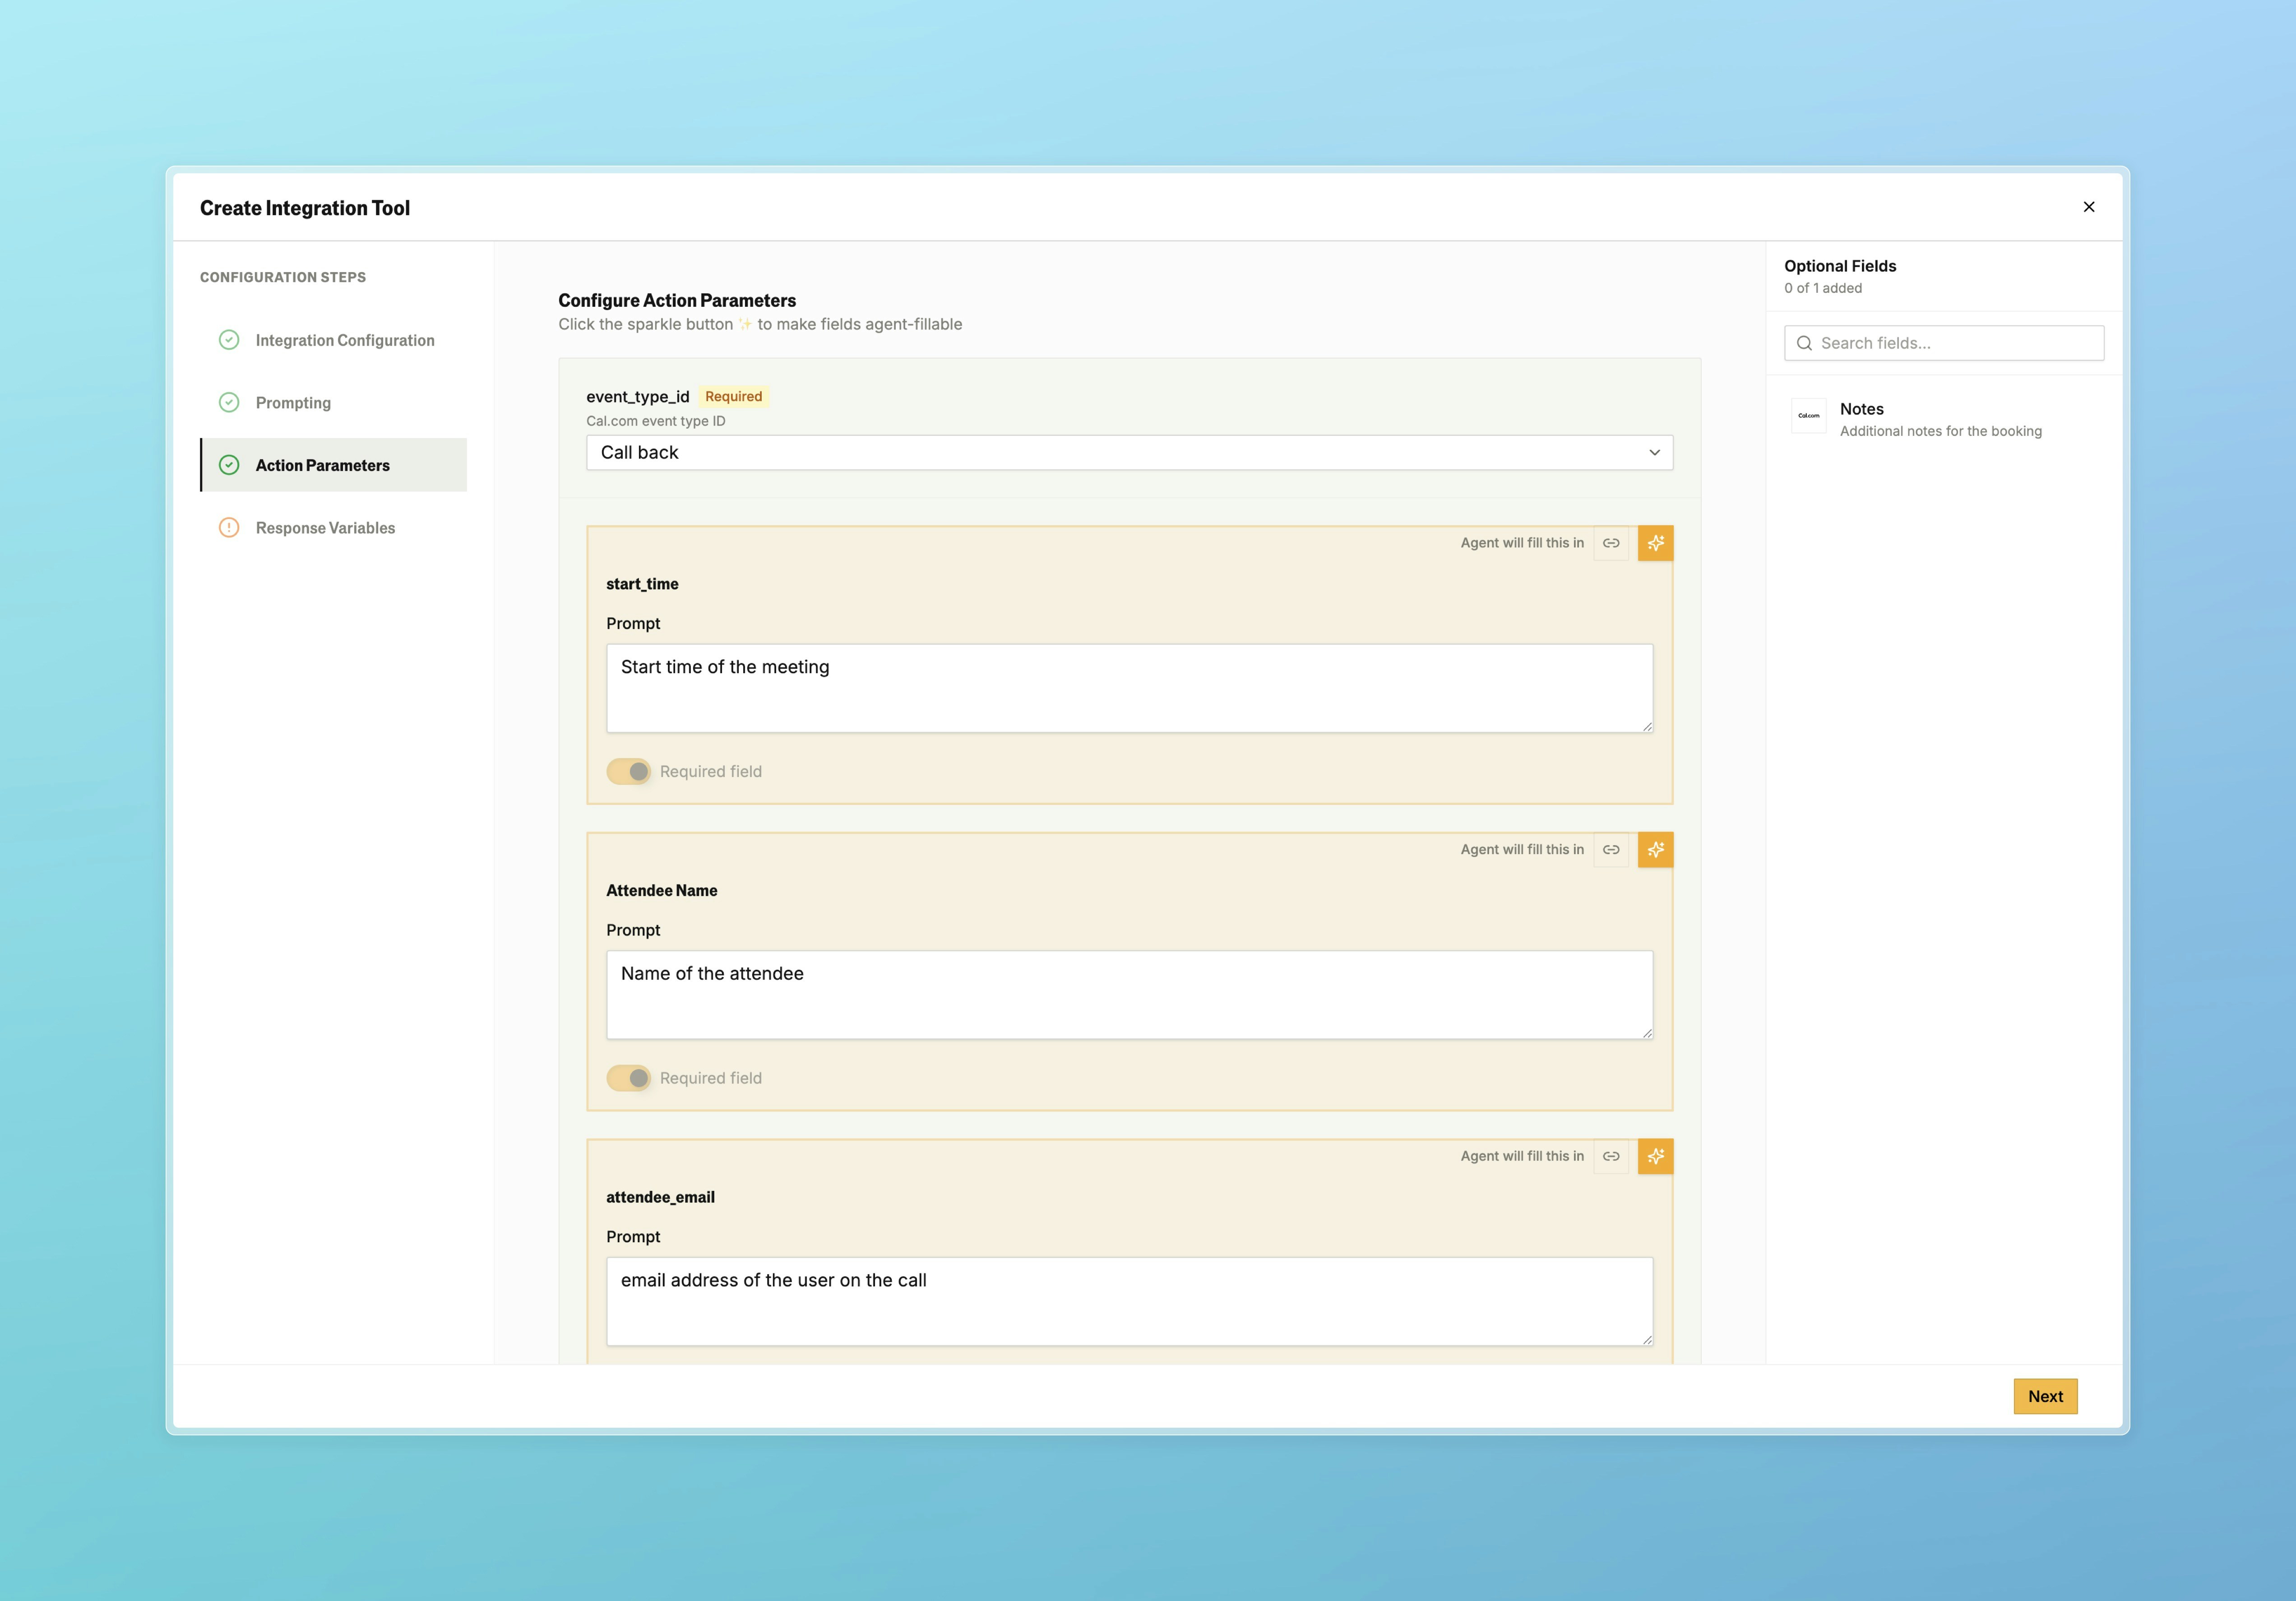
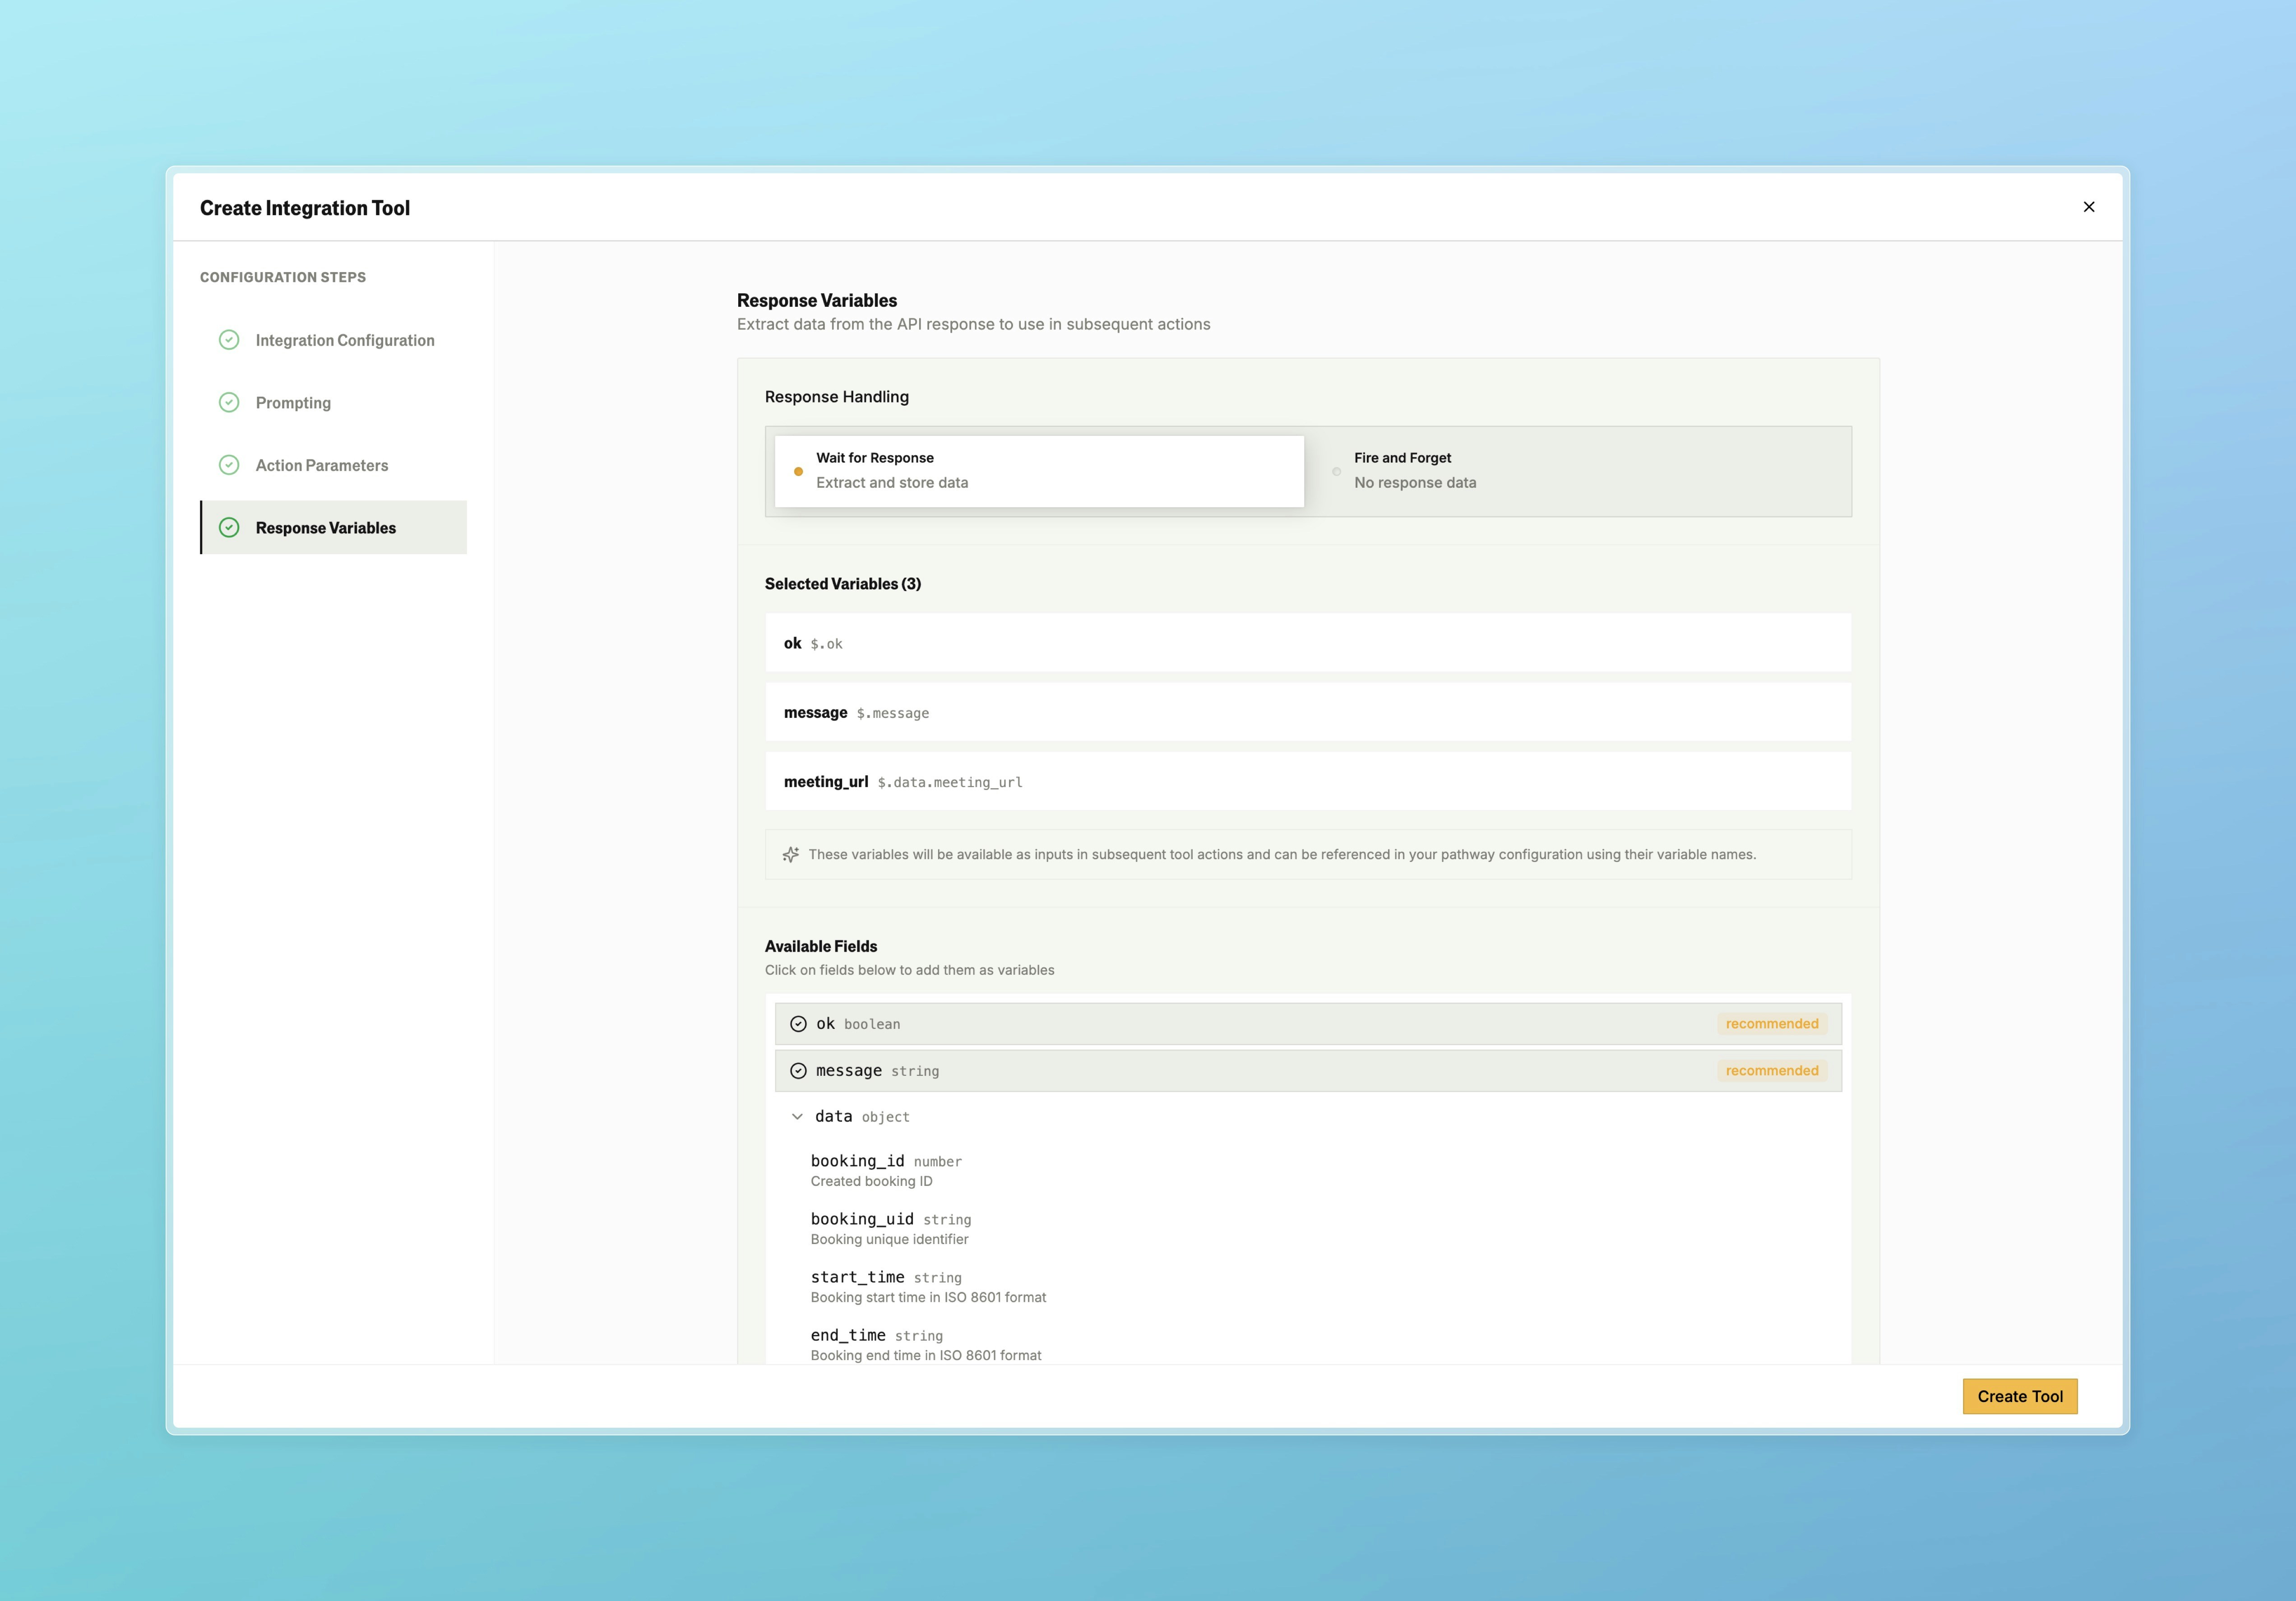
Cal.com Response Fields

In addition to the default ok, message, and data fields returned by every integration (see Response Variables), the Cal.com Schedule Meeting action returns:
FieldDescription
meeting_urlThe booking URL
booking_idUnique identifier for the booking
booking_uidUID for the booking
statusBooking status
start_timeScheduled start time
end_timeScheduled end time
attendee_emailThe attendee’s email
attendee_nameThe attendee’s name
attendee_timezoneThe attendee’s timezone
Reference these in subsequent pathway nodes with {{variable_name}} syntax, or use them in response routing to branch on success or failure.
Docs for agents: llms.txt