Introduction
The API integration lets you connect your AI agent to any HTTP endpoint. Use it when:- You have your own backend API you want to call during calls
- You’re integrating with a third-party service that isn’t in the built-in list
- You need custom request formatting, headers, or authentication
- Create an API connection with a base URL and authentication
- Store API keys securely in the Secrets vault
- Configure request bodies with dynamic fields
- Capture and use response data
Step 1: Create an API Connection
Before creating a tool, you need to set up a connection. This stores your base URL and authentication credentials, and can be reused across multiple tools.- Go to the Tools Hub
- Click the Integrations tab
- Find and click API
- Click Add Connection
Connection Details
Connection Name: Give it a descriptive name. For this tutorial, use “Bland API”.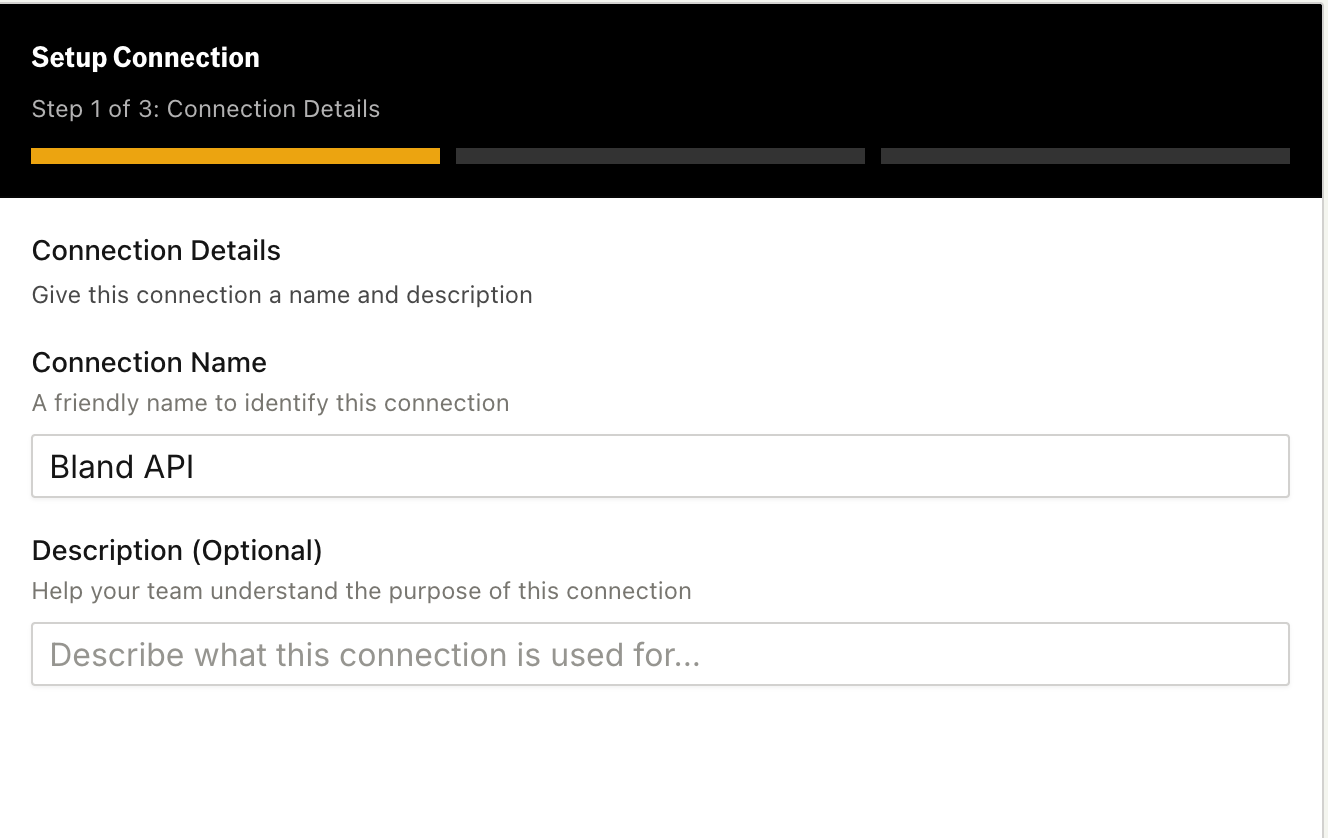
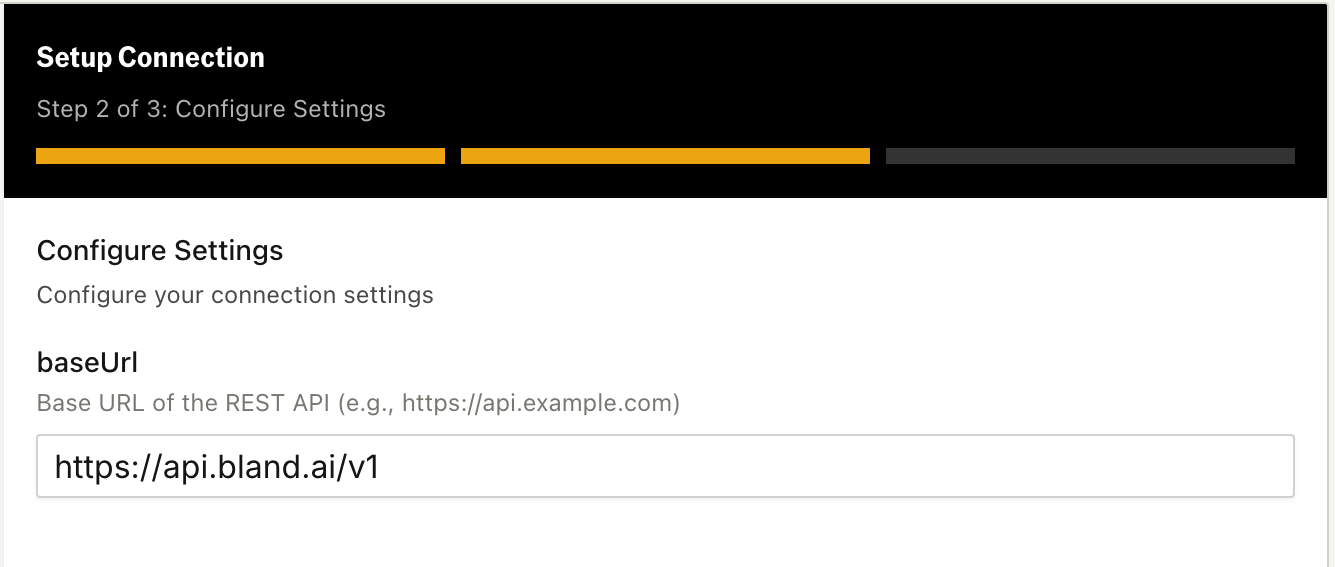
https://api.bland.ai. When you create tools, you’ll add the specific path (like /v1/prompts).
Description (optional): Add notes about what this connection is for.
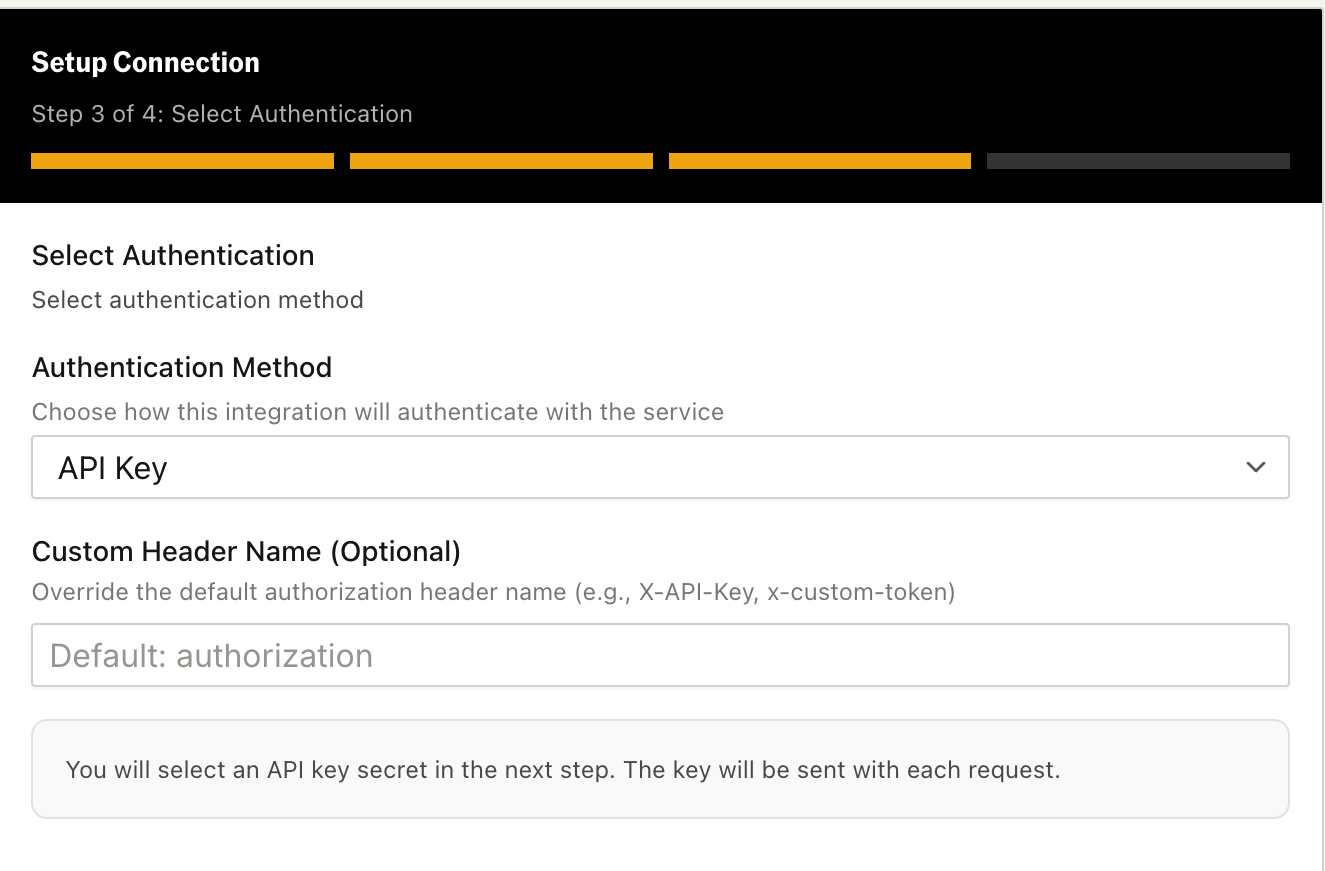
Authentication
Choose how your API authenticates requests: Bearer Token: For Bland’s API, select this option. Your API key goes in the Authorization header asAuthorization: Bearer your-key.
API Key: For APIs that expect a key in a custom header (e.g., X-API-Key: your-key).
Basic Auth: For APIs using username/password authentication.
No Authentication: For public APIs or when you’ll handle auth in custom headers.
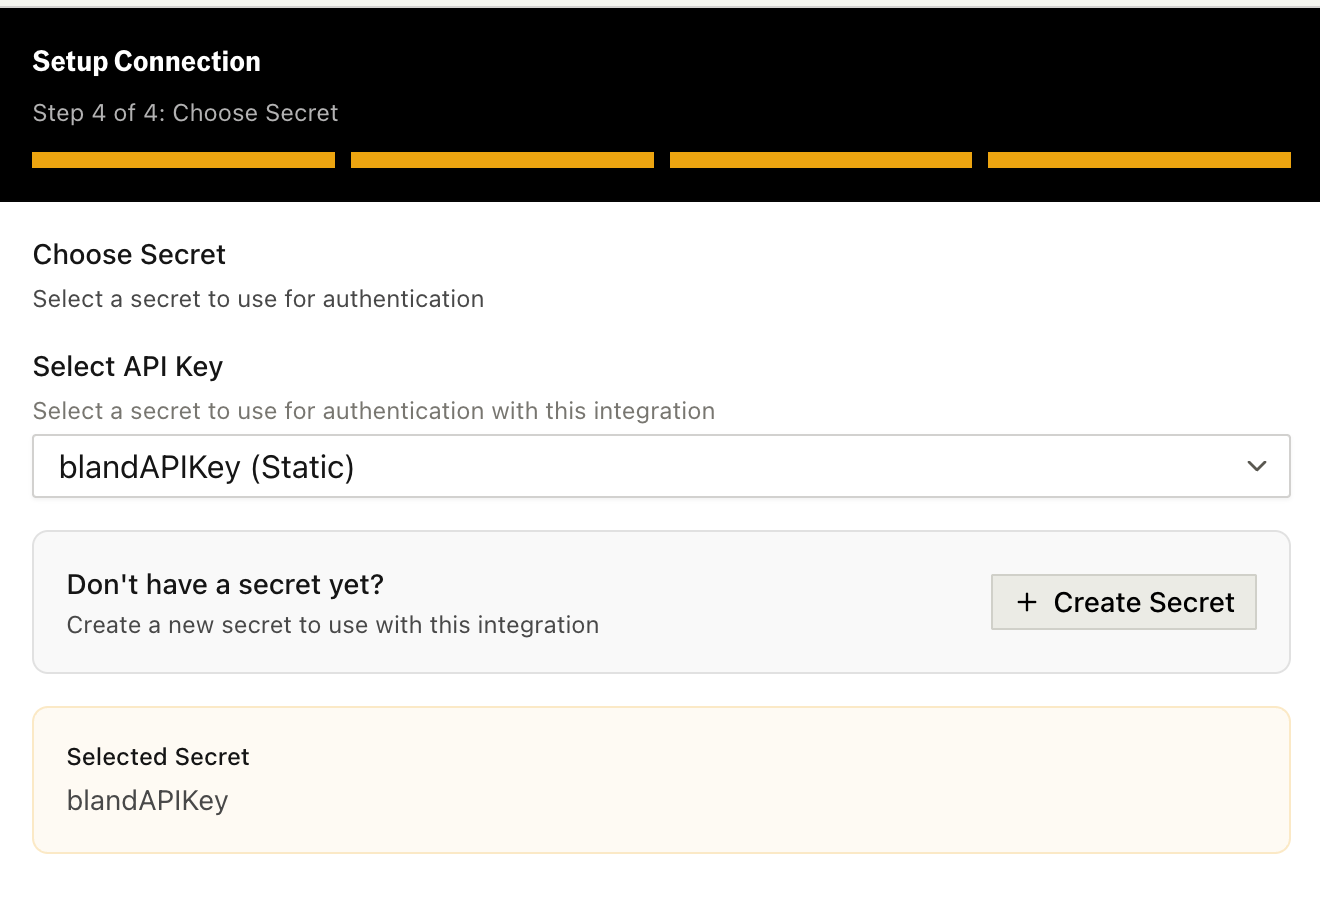
Setting Up Your Secret
- Click Select Secret next to the auth type
- Choose an existing secret from your Secrets vault, or click Create New
- For Bland’s API, paste your API key from your dashboard
Step 2: Create the Tool
In the Actions panel, click POST (or GET, PUT, PATCH, or DELETE depending on your API) to open the Tool Builder. You can also change the method later from the request editor.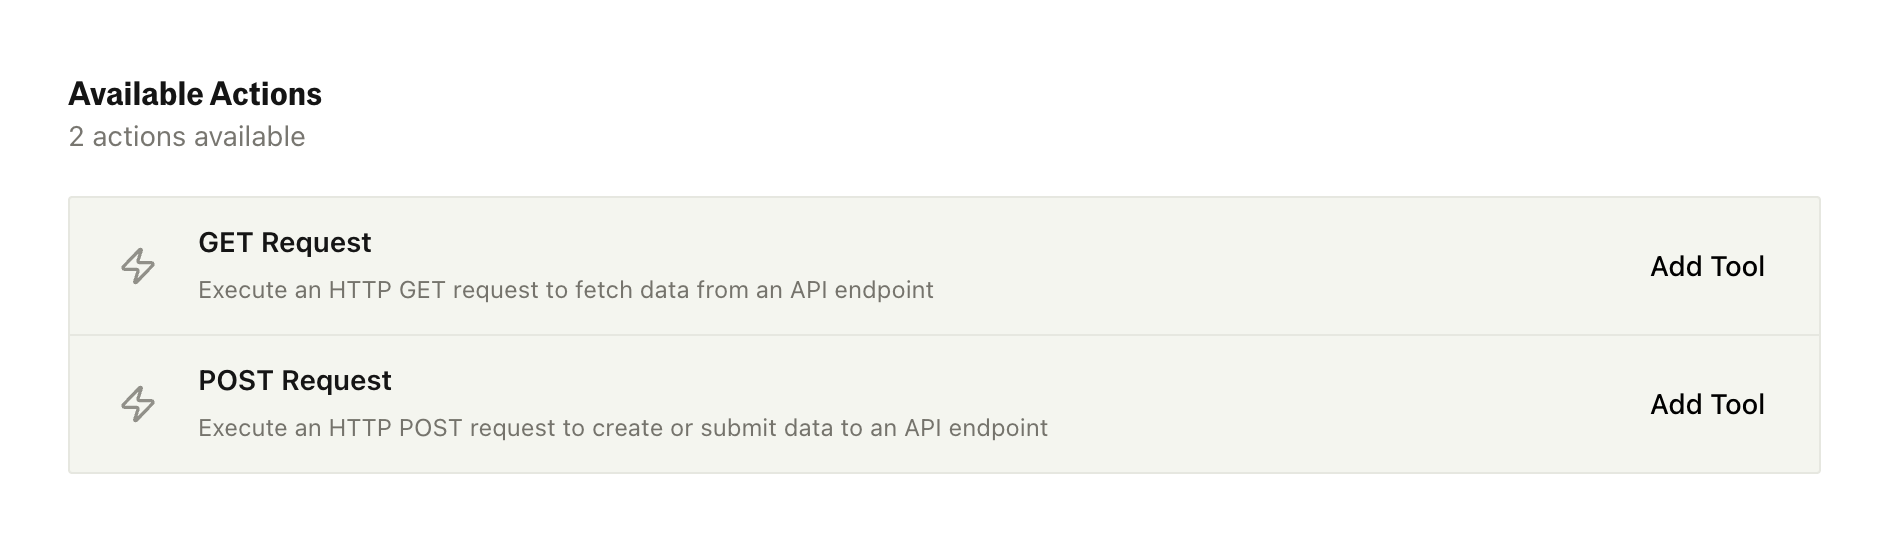
Step 3: Configure Prompting
The Prompting section tells your AI agent about this tool: what it does and when to use it.Tool Name
This is what your AI agent sees when deciding which tool to use. Make it descriptive and action-oriented. Good examples:- “Save Call Summary”
- “Check Order Status”
- “Submit Support Ticket”
- “API Call”
- “POST Request”
- “Prompts Tool”
Step 4: Configure Action Parameters
This section defines the HTTP request your tool will make.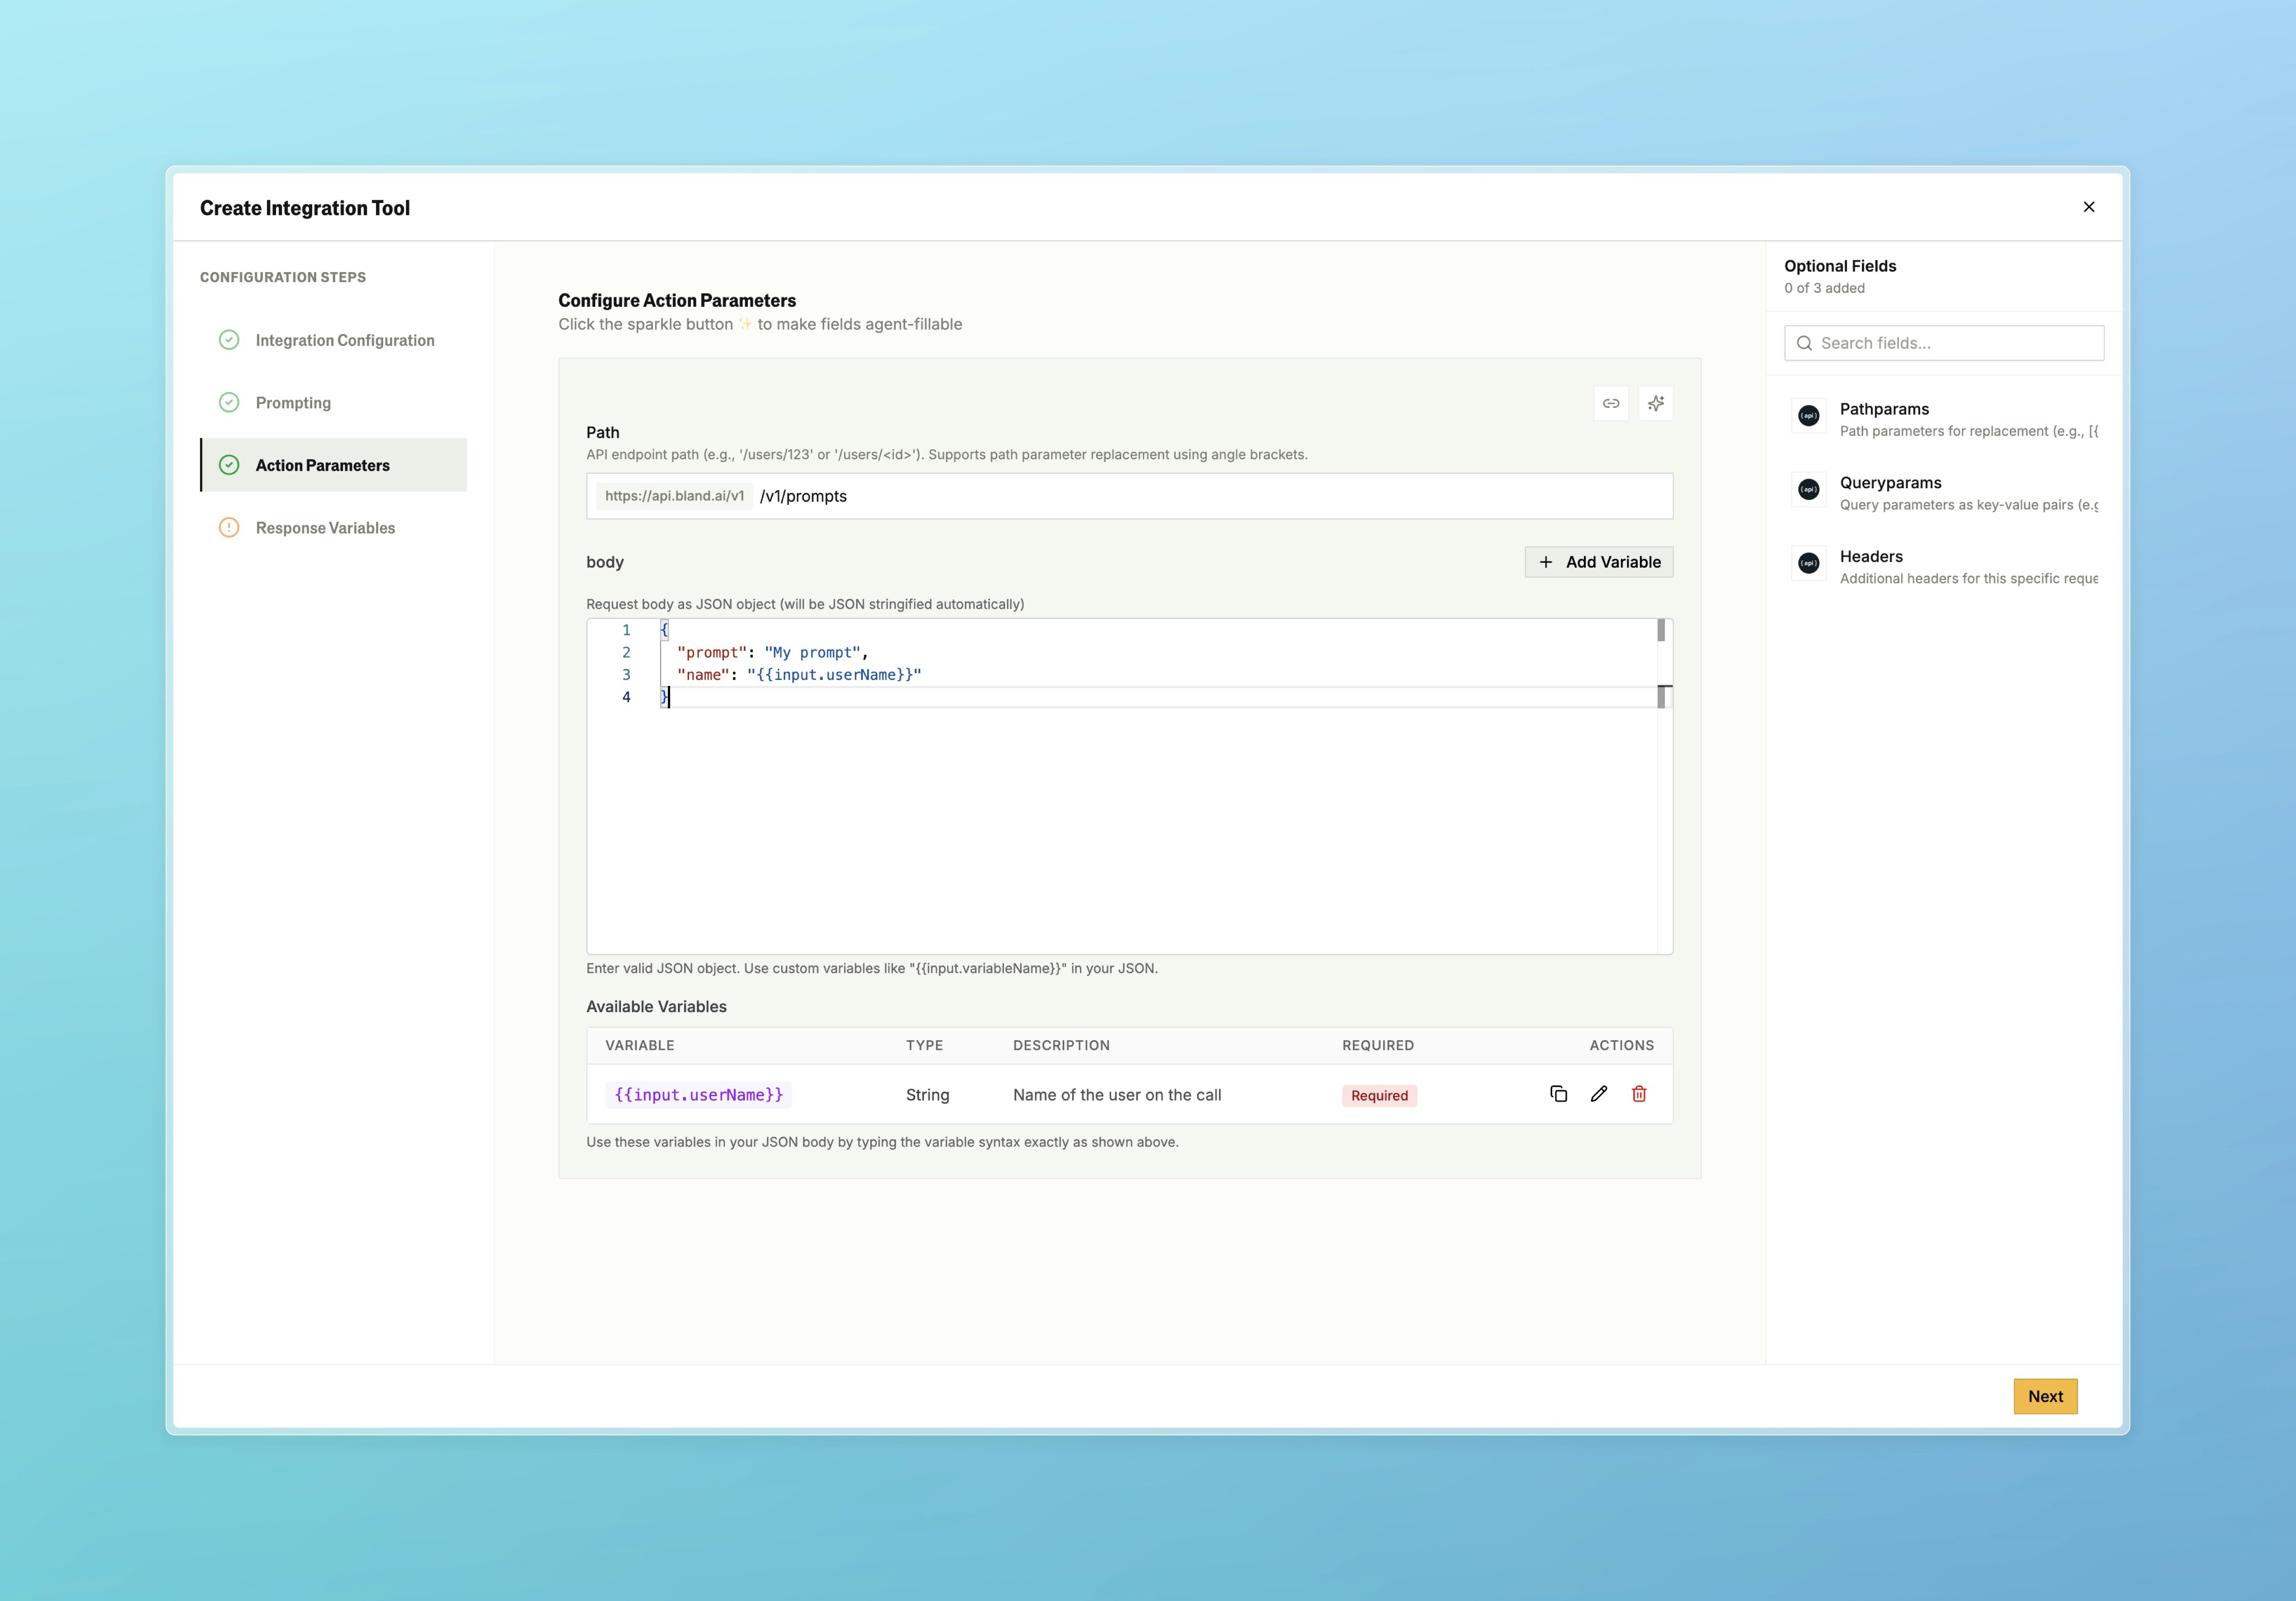
URL Path
Enter the path for your API endpoint. This is appended to your connection’s base URL. For our prompts tool, enter:/v1/prompts
This combines with our base URL to make the full endpoint: https://api.bland.ai/v1/prompts
Body (for POST, PUT, and PATCH requests)
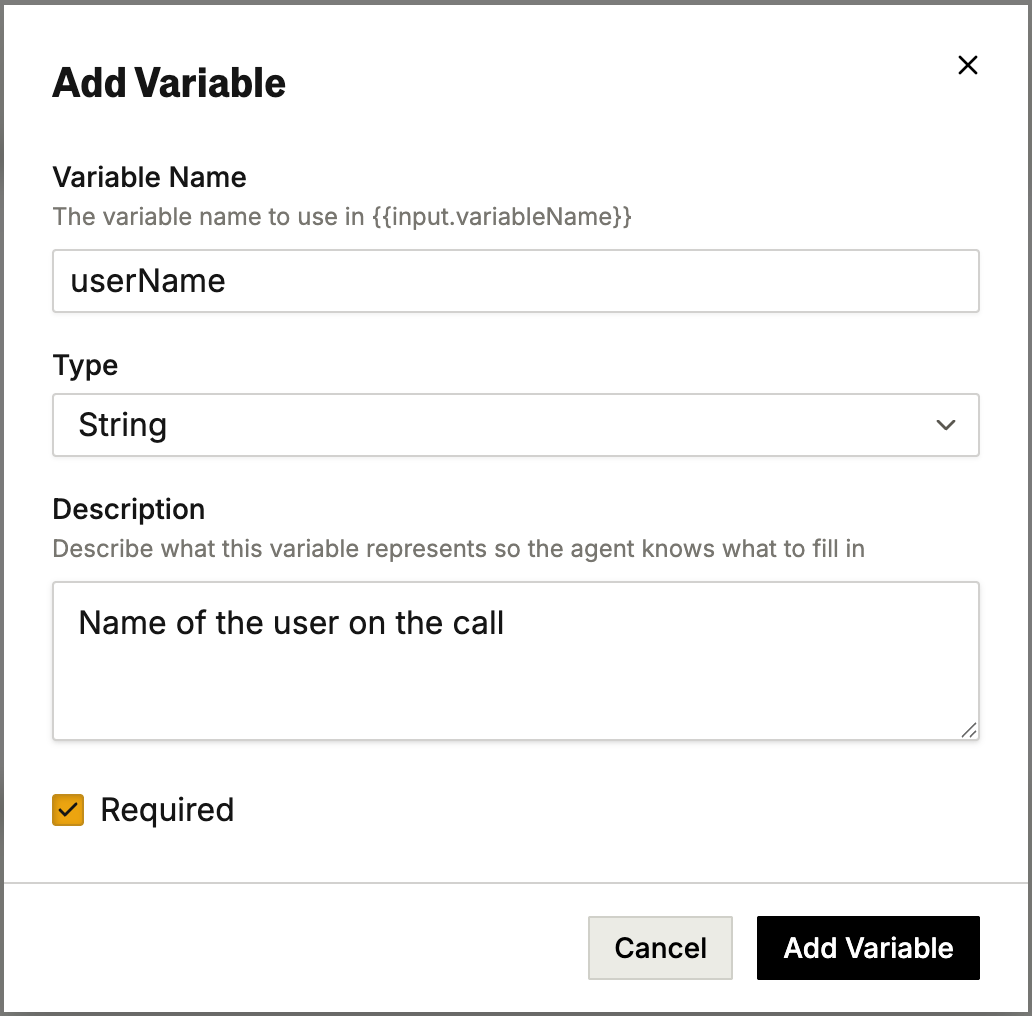
Configure the request body by adding variables. Each variable becomes a field in your API request. The Body tab is only shown for methods that support a request body (POST, PUT, and PATCH). It’s hidden for GET and DELETE. Click Add Variable to create a new field. For each variable, you provide:- Name: The field name in your request body (e.g.,
userName,prompt) - Description: Tell the AI what to extract from the conversation
- Type: String, Number, or Boolean
- Required: Whether the field must have a value
- “The caller’s email address”
- “A summary of the key points discussed in this call”
- “The product or service they’re interested in”
- “Their preferred contact time”
- Be specific about what to extract
- Mention the format if it matters (“email address in standard format”)
- The AI only has access to what was said in the conversation
{{input.variableName}} syntax:
Step 5: Configure Response Variables
When your API responds, you can capture data from the response to use later in your pathway. See Response Modes in the overview for when to use Capture Response vs Fire and Forget.Default Response Fields
Unlike built-in integrations, API tools return raw HTTP response fields. For a POST request, every response includes:
GET, PUT, PATCH, and DELETE follow the same pattern with
rest_api_get_*, rest_api_put_*, etc.
Step 6: Using Tool Output in Pathways
After saving your tool, you can use it in pathways and make decisions based on the response.Adding the Tool to a Pathway
- Open your pathway in the editor
- Add a Custom Tool node
- Select your tool from the dropdown
- Connect it to your conversation flow
Passing Pathway Variables to the Tool
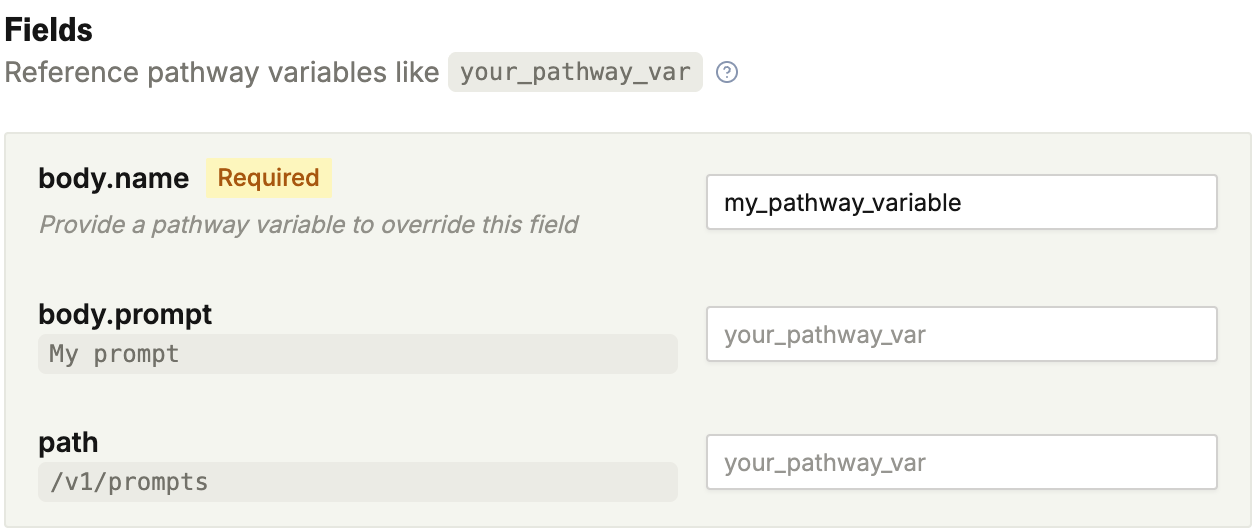
Response Pathways (Routing Based on Output)
Route to different nodes based on what the API returned. For the full list of available conditions, see Response Routing. Common patterns for API tools:Using Response Data in Dialogue
Reference captured variables in subsequent nodes: In a dialogue node after the tool:Additional Configuration Options
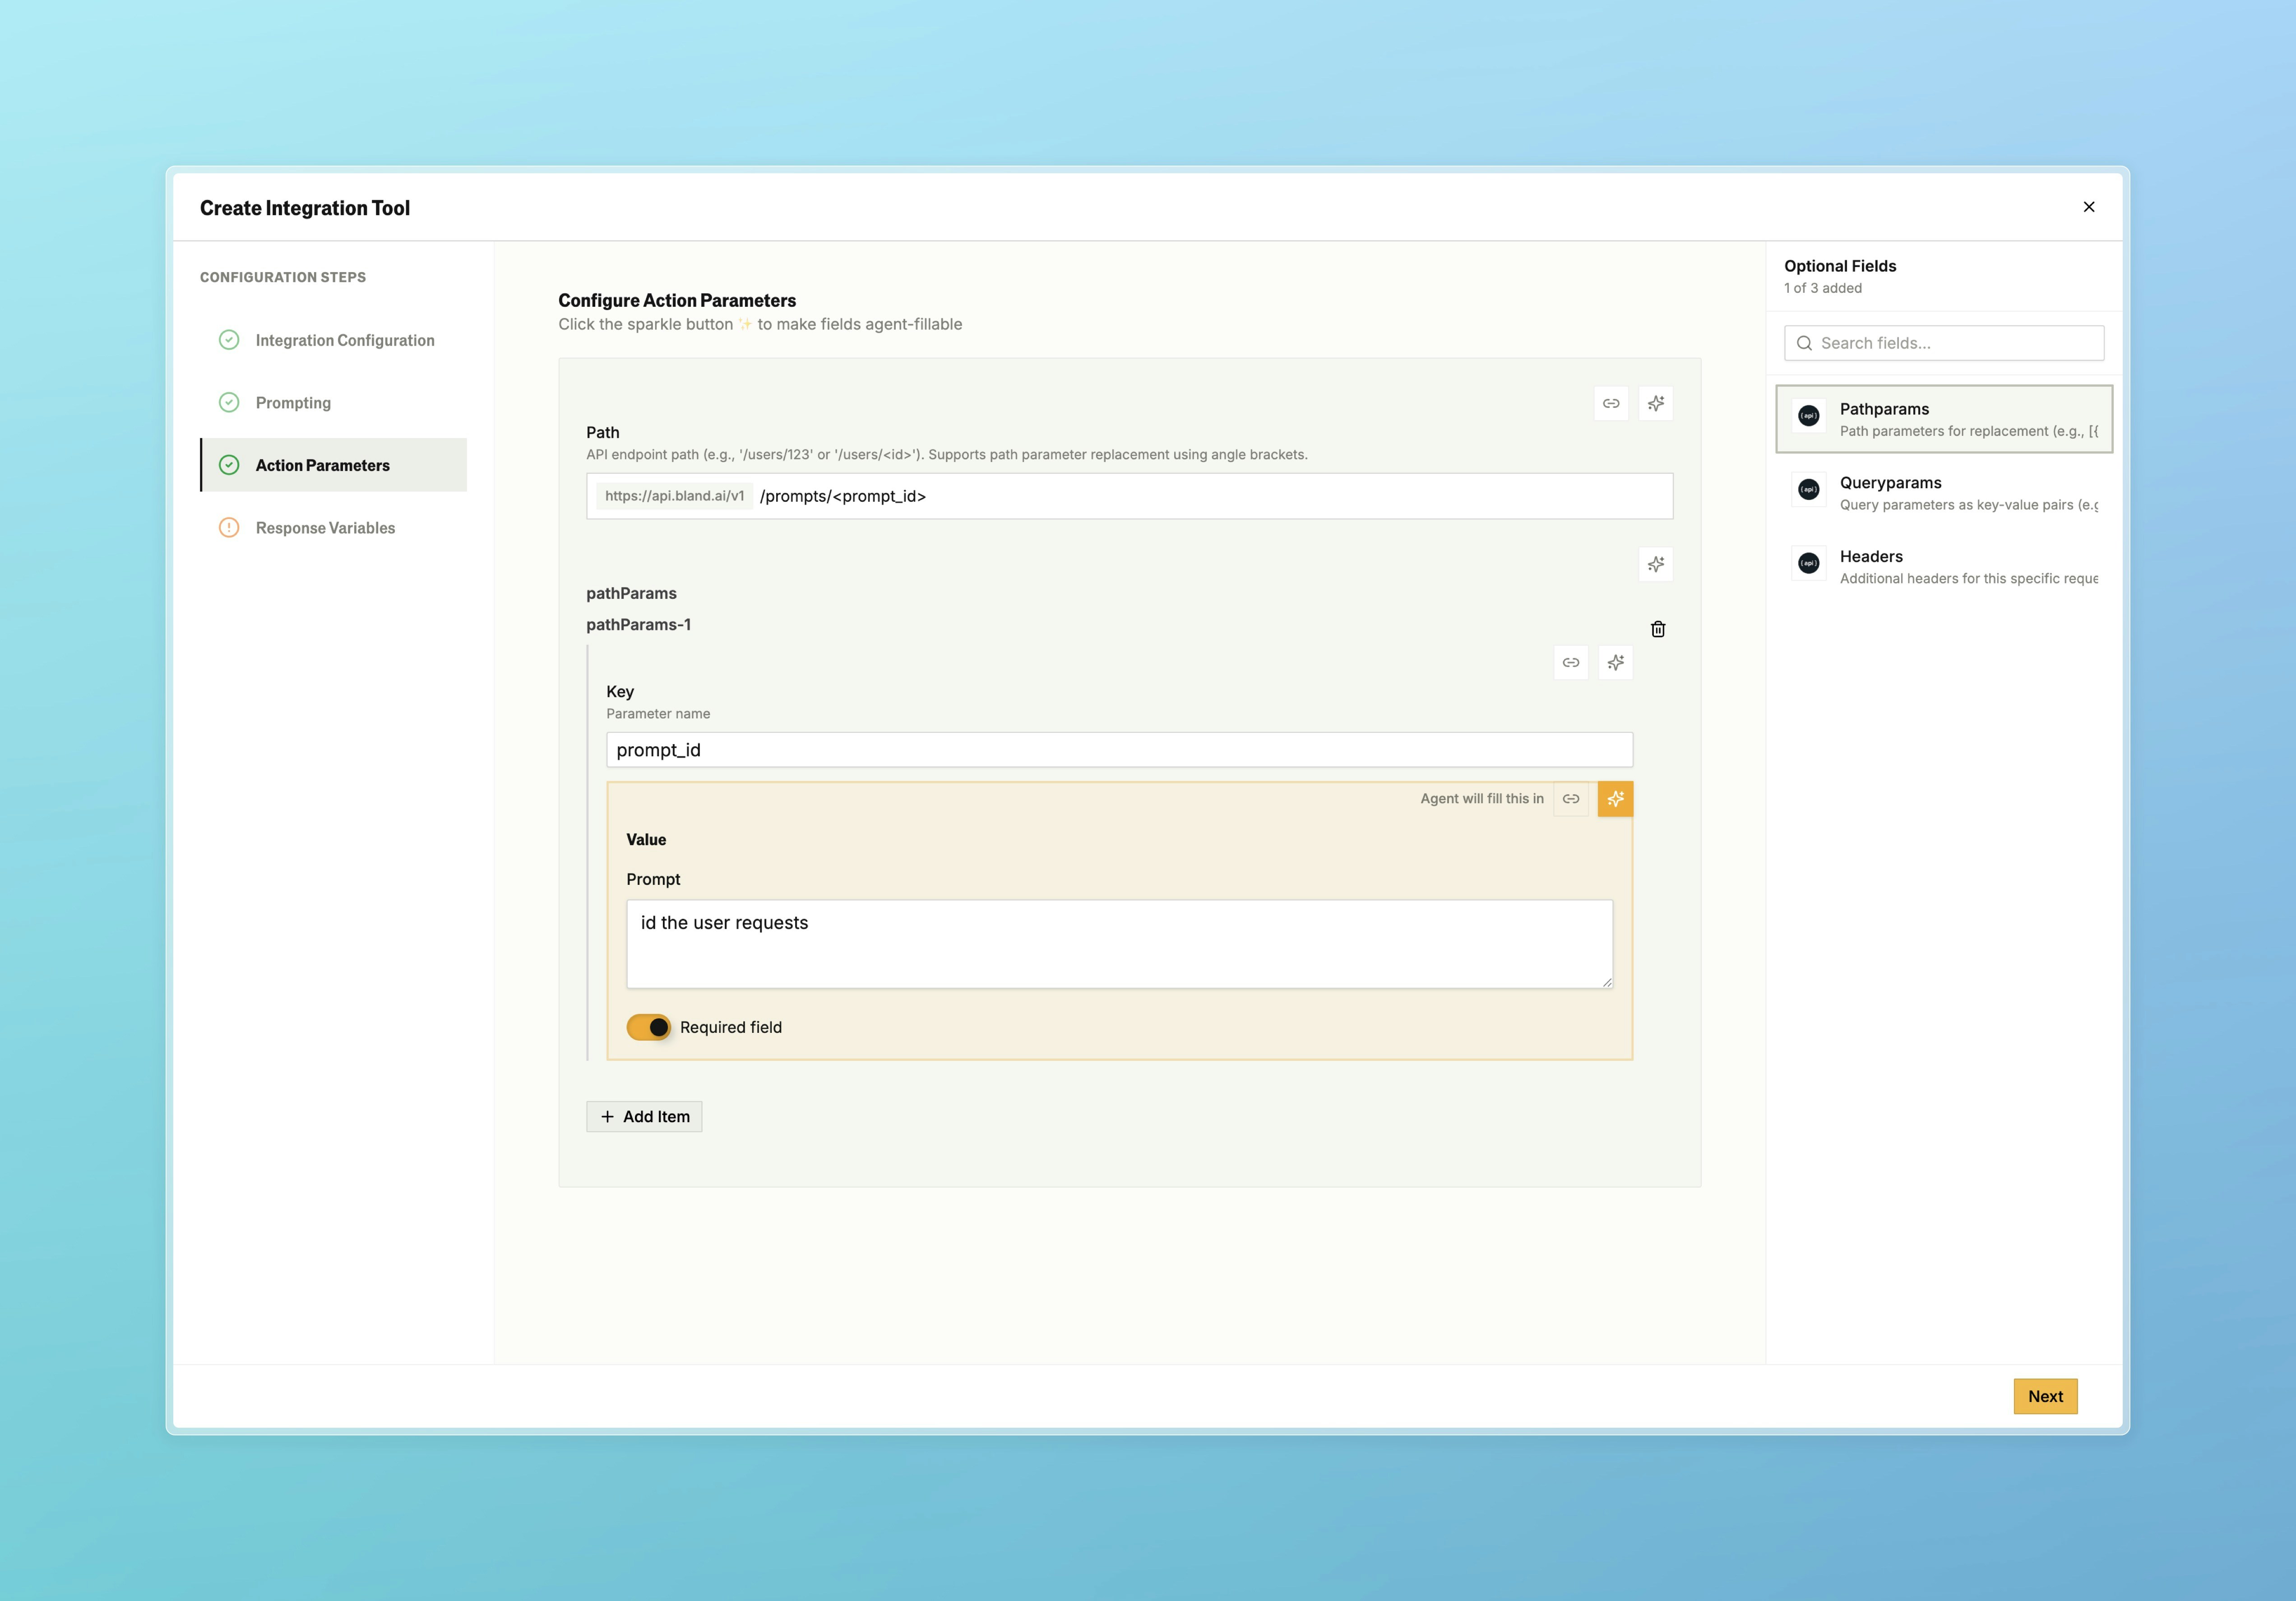
These options aren’t used in the tutorial above, but are available when your API requires them.Path Parameters
For dynamic endpoints where part of the URL changes per request, use angle brackets to define parameters in the URL path (e.g.,/v1/prompts/<prompt_id>). Then add path params as key/value pairs below.
Custom Headers
Add any headers your API needs beyond authentication. Click Add Header to add custom headers. Example:Content-Type:application/jsonX-Request-Source:bland-ai
Docs for agents: llms.txt