Introduction
Batch calls let you initiate high-volume call campaigns by uploading a list of recipients via CSV. These calls share a dynamic prompt or pathway, and you can monitor progress and results from a centralized dashboard. Common use cases include:Outbound Campaigns
Reach customers with limited-time offers or updates.
Customer Reminders
Follow up with clients for appointments, payments, or check-ins.
Lead Qualification
Qualify or re-engage leads from your CRM or sign-up funnel.
Data Collection
Prompt users for updated contact info, preferences, or survey responses.
Creating a Batch Call
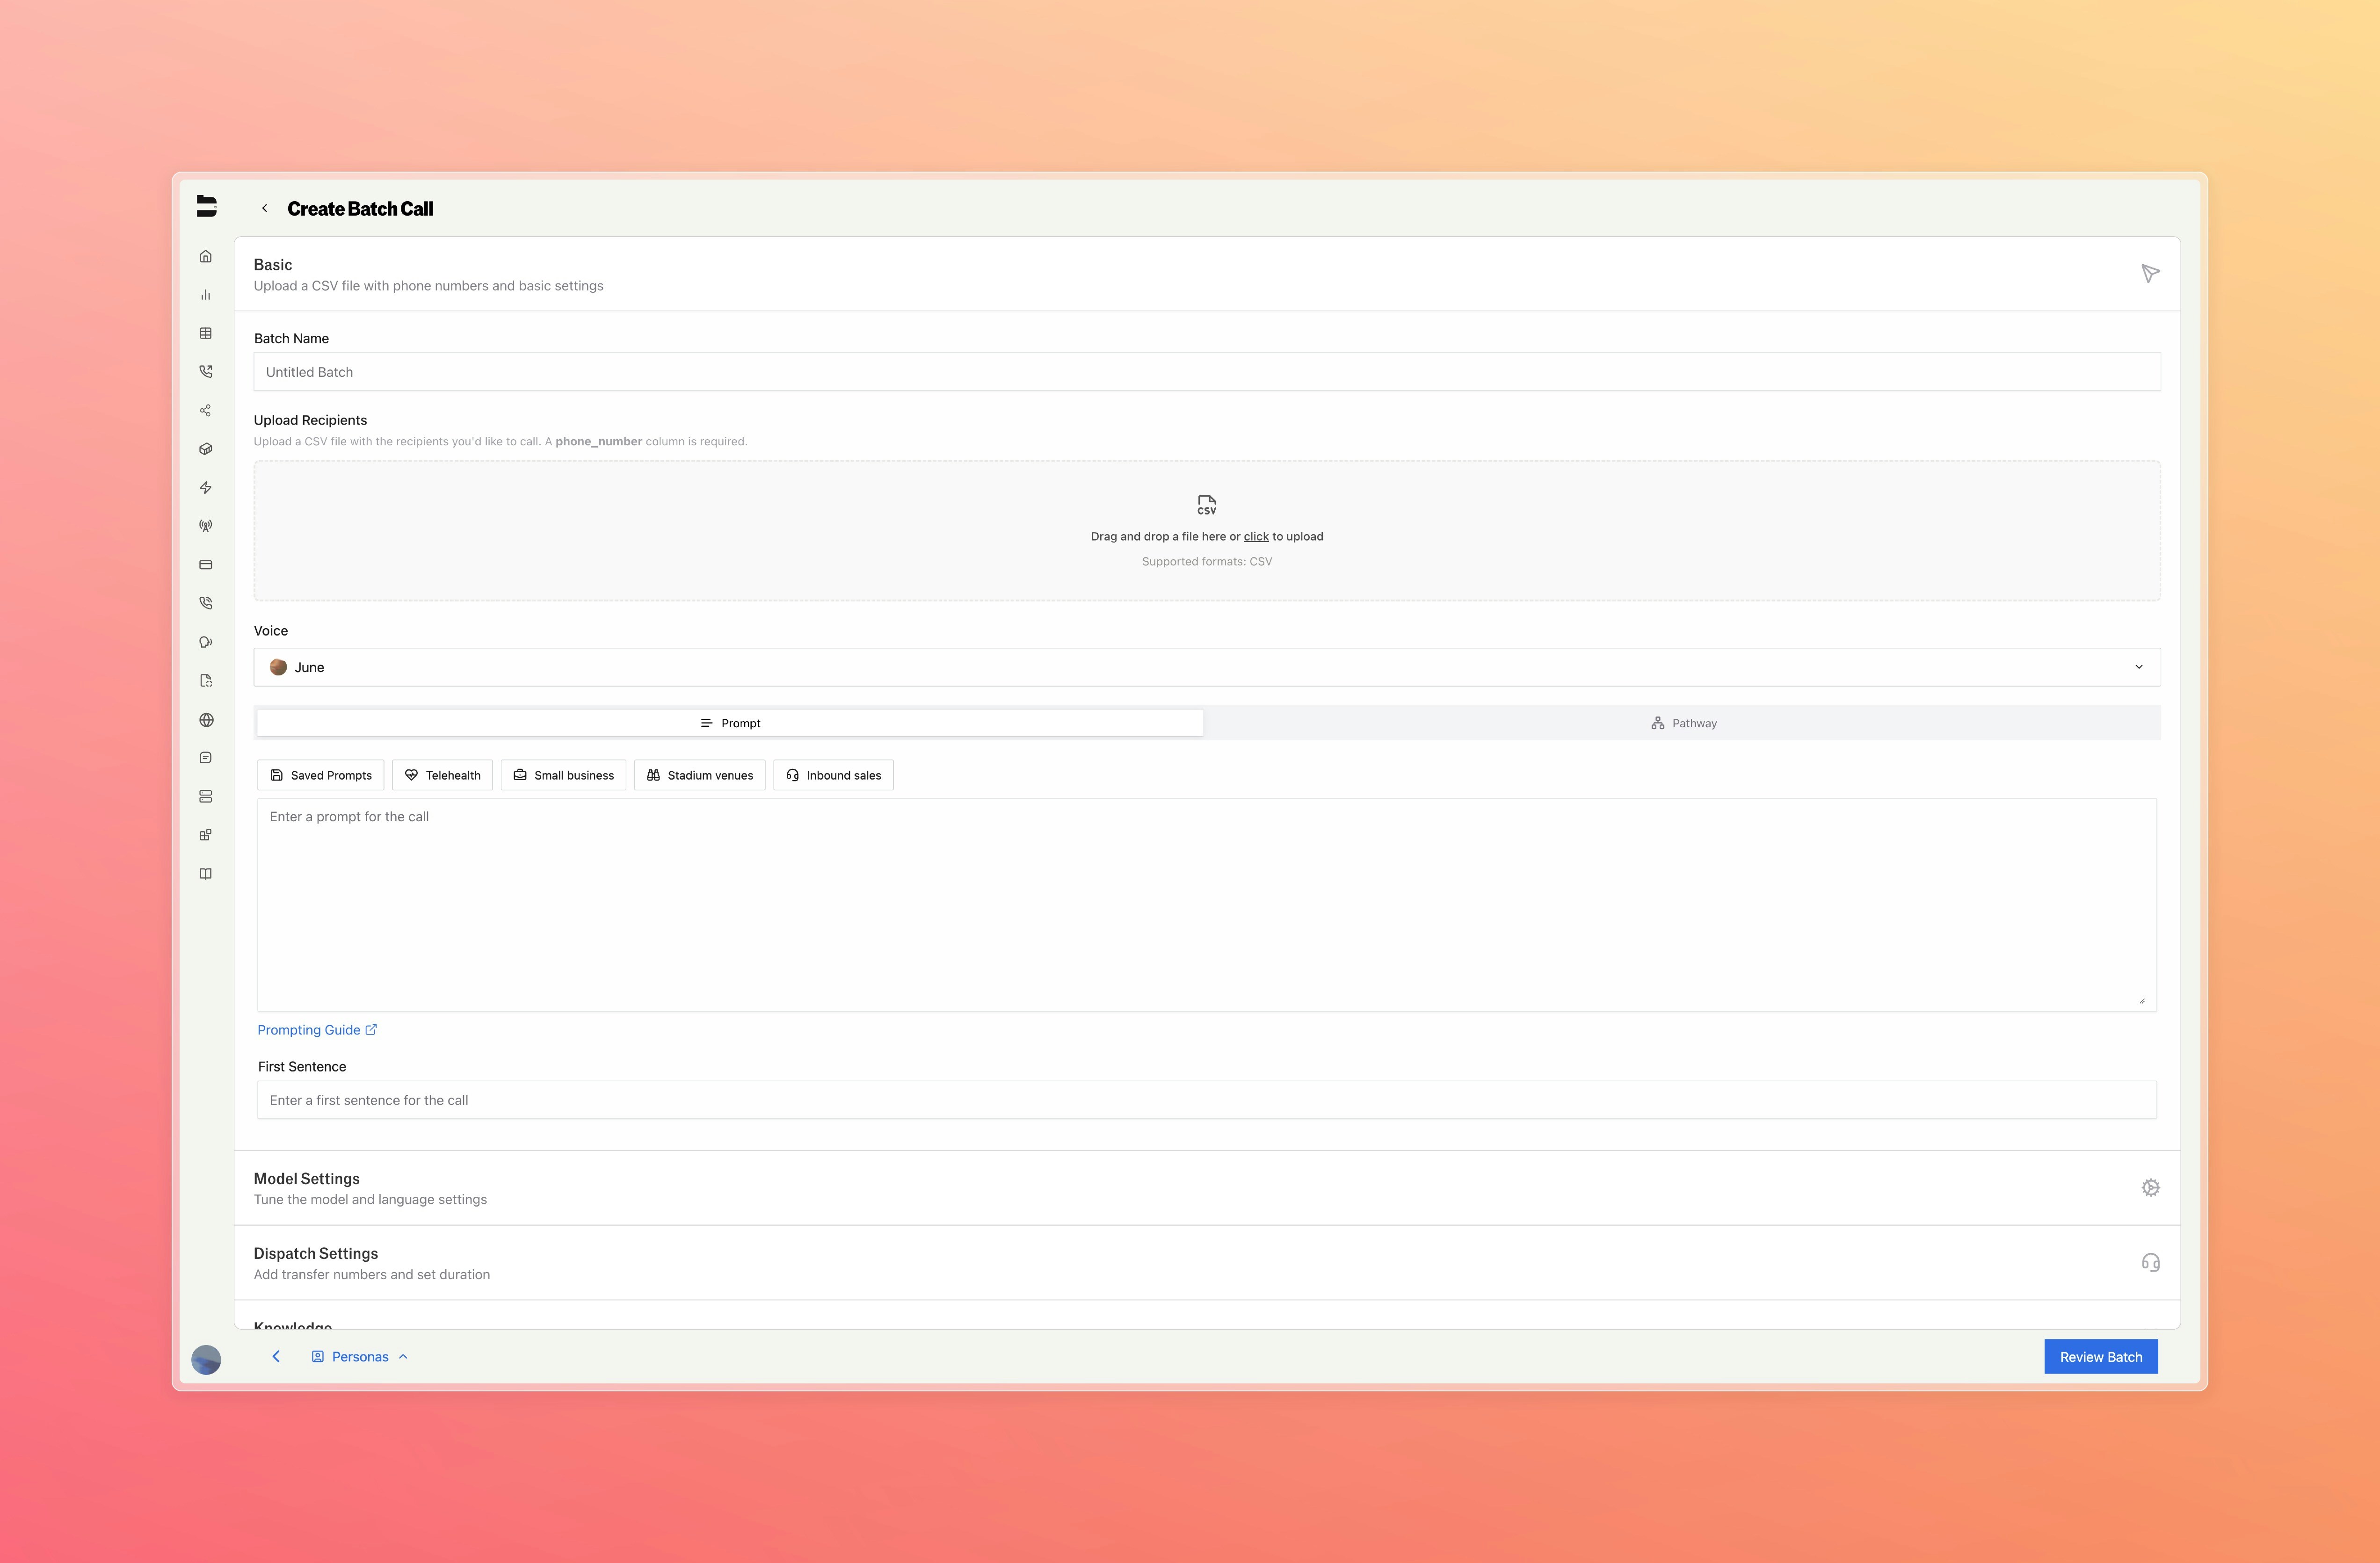
To start a batch call:- Navigate to the Batch Calls page in the sidebar.
- Click Create Batch Call in the top right.

Required Fields
Your uploaded CSV must include at least one column titledphone_number.
Additional columns can be included to define dynamic variables referenced during the call.
Important: Column names cannot contain spaces since they are used as variables in pathways. Use underscores or camelCase instead (e.g.,Example format:customer_nameorcustomerName, notcustomer name).
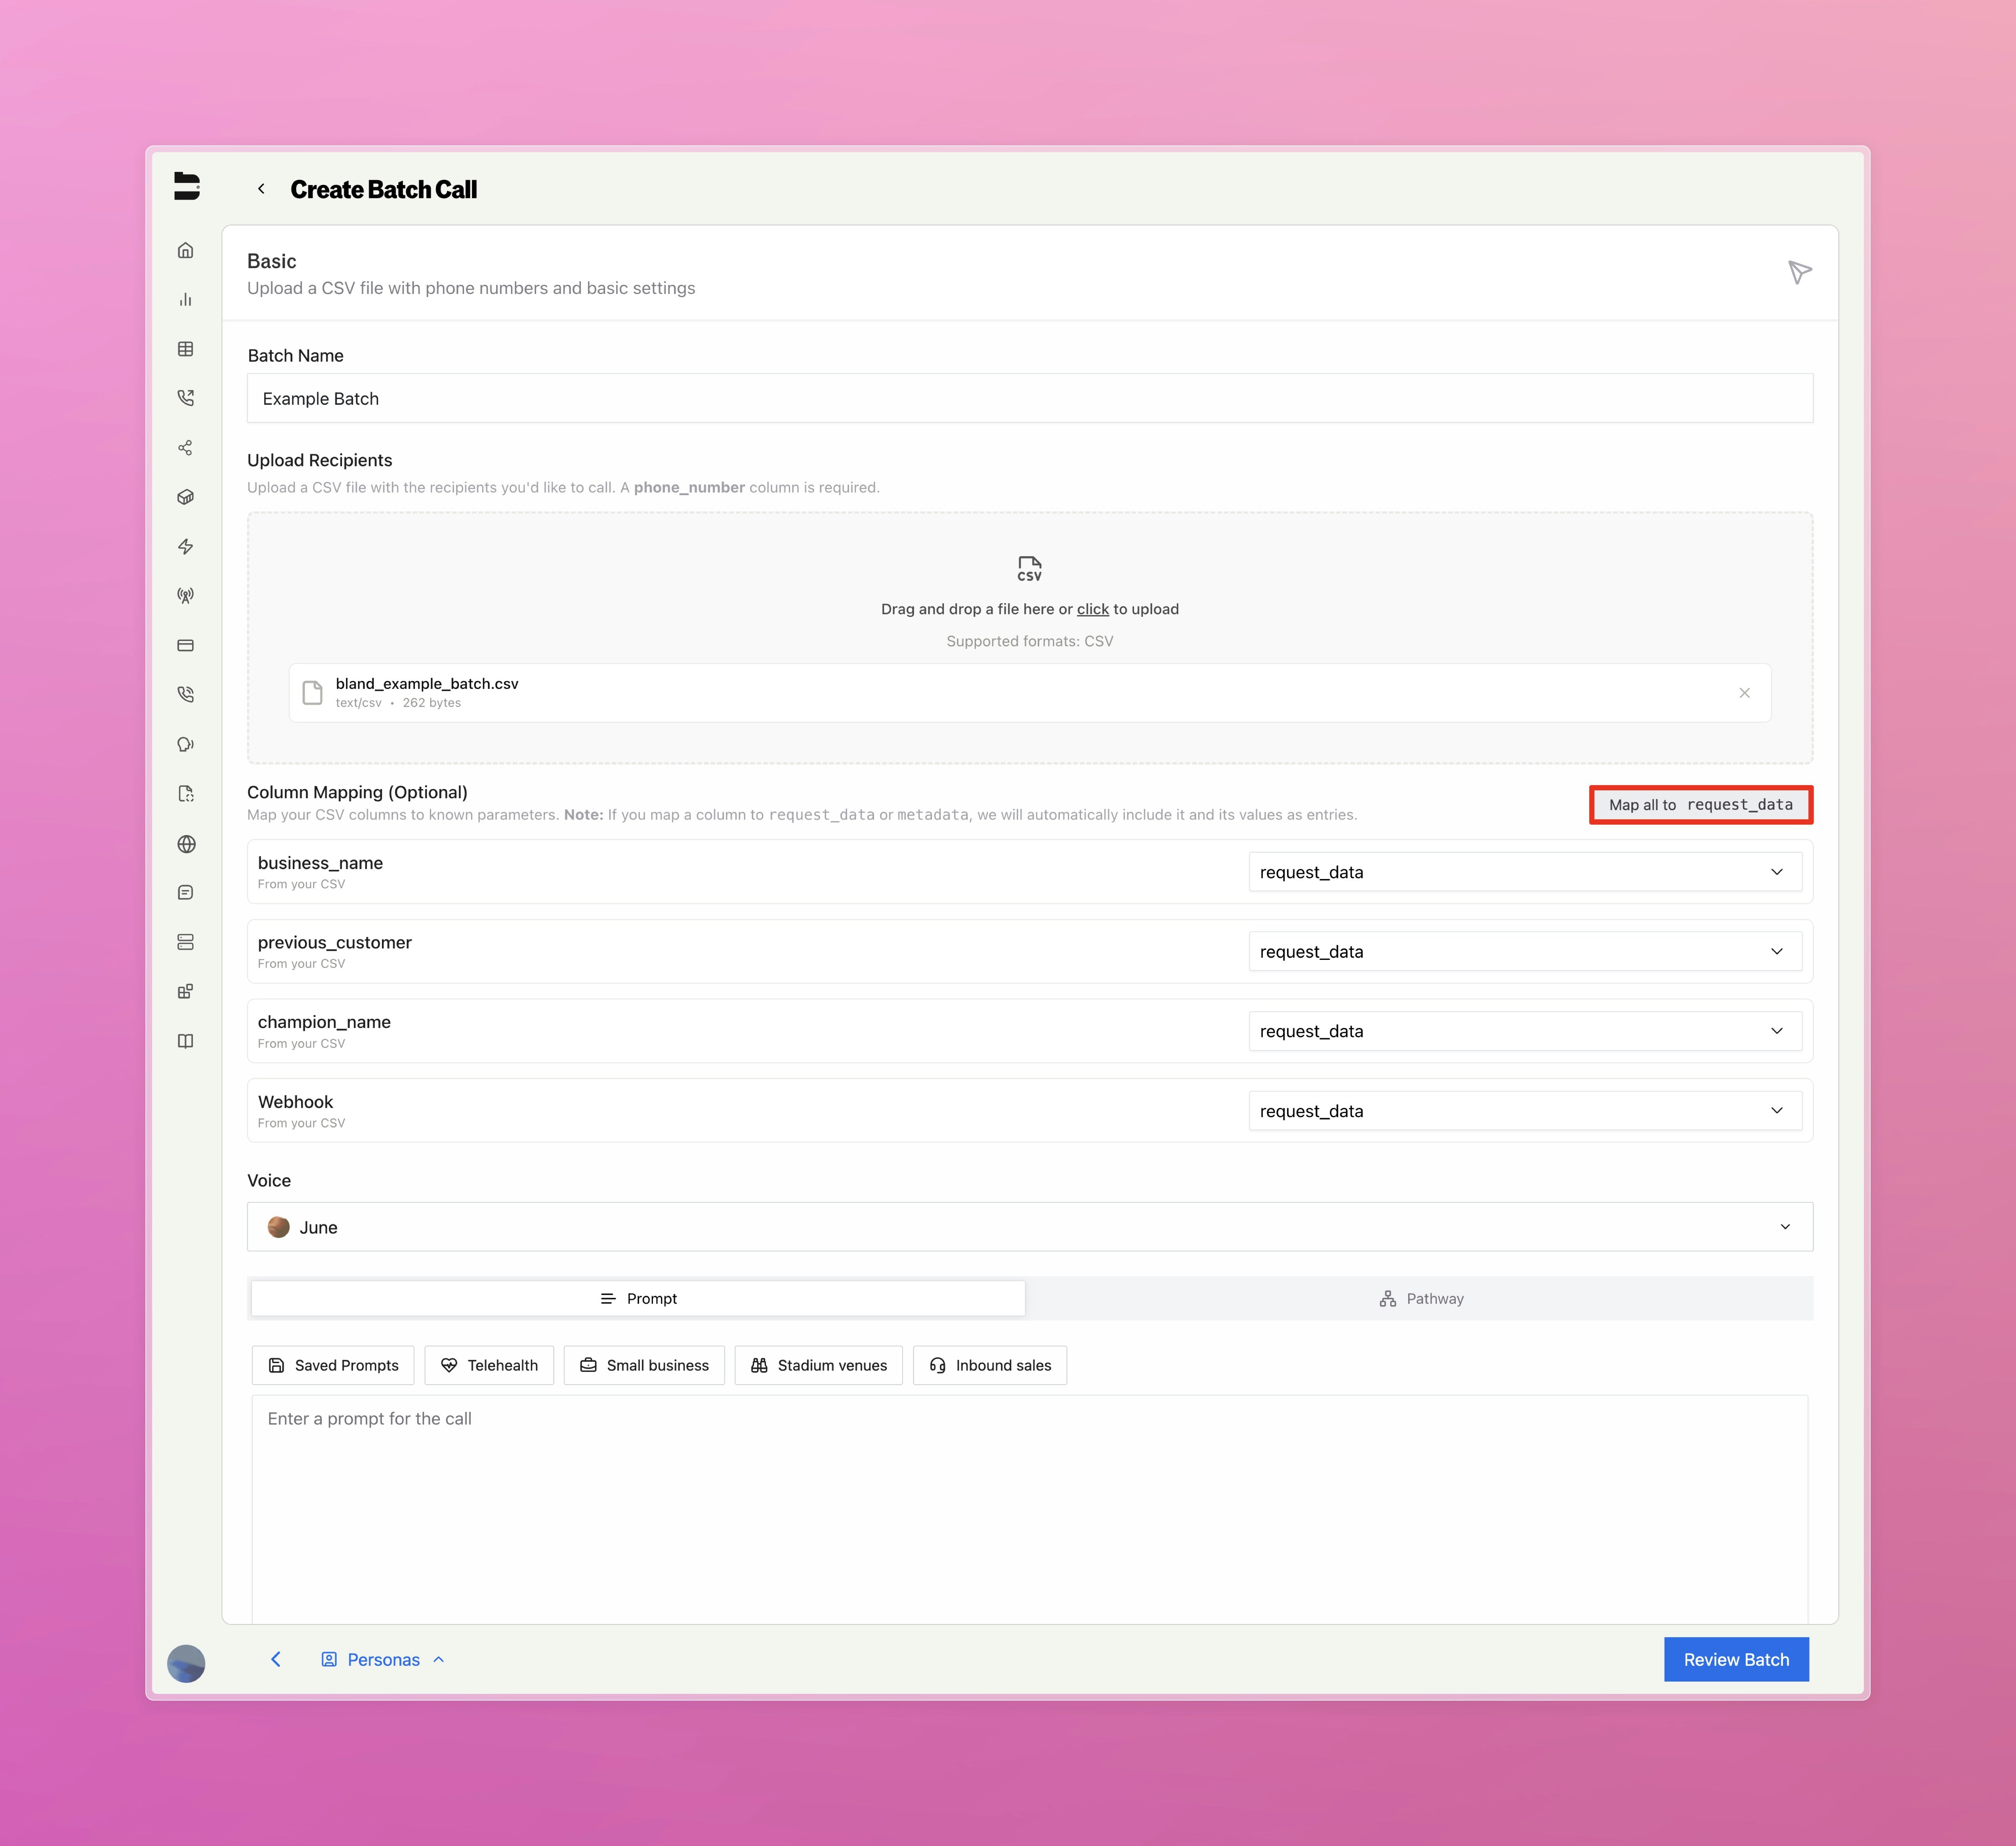
| phone_number | business_name | previous_customer | champion_name | webhook |
|---|---|---|---|---|
| +12345678909 | South Bay Coffee | Yes | Sarah H | https://example.com/webhook1 |
| +10987654321 | John’s Laundry | No | John W | https://example.com/webhook2 |

Above shows how we set each column to be mapped to use as request data during each call. Alternatively, you can set each column to be mapped to any other call configuration setting.Once we mark the column as request data, we can reference it in our prompt or pathway using the familiar
{{column_name}} syntax.
Monitoring Batch Progress
After launching a batch, return to the Batch Calls dashboard You’ll see each batch listed with:- Status (e.g. Completed, Partial, Failed)
- Batch Name
- Batch Timestamp
- Batch ID
- Buttons to View Logs and Cancel the Batch
Understanding Batch Statuses
Your batch will progress through various statuses as it processes. Here’s what each status means:Active Statuses (In Progress)
Active Statuses (In Progress)
- Initializing - The batch is being set up and prepared for processing. This happens immediately after creation.
- Validating - The system is verifying your CSV format, phone numbers, and call parameters before dispatching.
- Dispatching - Calls are being actively sent out to recipients from your CSV.
- In Progress - Calls are actively being processed and conversations are ongoing.
- In Progress (Chunked) - Large batches are being processed in smaller chunks for better performance.
- Waiting for Scheduled Calls - The batch is waiting for calls with specific start times to be executed.
Final Statuses (Completed)
Final Statuses (Completed)
- Completed - All calls in the batch were successfully processed and finished.
- Completed Partial - Some calls succeeded, but some failed or were skipped. Check the logs for details.
- Failed - The entire batch failed to process due to a critical error. Review the error logs for troubleshooting.
Example Use Case
Let’s say you’re running a follow-up campaign for returning customers Upload a CSV like:| phone_number | customer_name | service | date |
|---|---|---|---|
| 12345678909 | Emily | Home Cleaning | July 10 |
Frequently Asked Questions
What happens if a number is invalid?
What happens if a number is invalid?
Invalid or blank numbers will be skipped automatically and reported in the error logs
Can I use tools or pathways with batch calls?
Can I use tools or pathways with batch calls?
Yes. Any tools or pathways configured in your call settings will apply across the batch
How do I access individual results?
How do I access individual results?
Use the Call Logs page (filtered by batch ID) to inspect each call’s transcript, outcome, and variables
How do I send a batch via API?
How do I send a batch via API?
You can use our API to send a batch call. See our API Reference for more details.